
Frogwatch Meter V2


Specifications
The tables below give an overview of the main specifications of the system. Use them to quickly judge whether the Frogwatch V2 suits your application.
General |
||
|---|---|---|
| Length | 175 | mm |
| Width | 130 | mm |
| Height | 60 | mm |
| Mass | 900 | g |
| Supply voltage | 6 - 24 | V |
| Supply current (max) | 3000 | mA |
Environment |
||
|---|---|---|
| Protection rating | IP65 | |
| Temperature range | -10 - 50 | ˚C |
Vibration measurements |
||
|---|---|---|
| Frequency range (SBR A) | 1 - 100 | Hz |
| Frequency range (SBR B) | 1 - 80 | Hz |
| Velocity range @ 1Hz | 0.1 - 1560 | mm / s |
| Velocity range @ 100 Hz | 0.1 - 15.6 | mm / s |
| RMS noise velocity | 0.016 | mm / s |
| Acceleration range | 9810 | mm/s2 |
| RMS noise acceleration | 1.5 | mm/s2 |
Note: read the Safety information before you start working with Frogwatch equipment!
Want to get started quickly? See Working with the Frogwatch Meter.
External connections
The idea behind the Frogwatch Meter is that you set up and operate everything through the online Dashboard. The outside has no display, buttons or LEDs that could attract the attention of vandals or curious passers-by. There are only two (optional) connections on the bottom. More options are available when you open the lid.
DC jack: 12V power
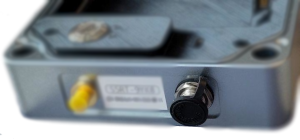
You can connect a 12V power adapter here. If the measurement lasts longer than the battery life, it is useful to connect the 12V power supply. You can then measure indefinitely without having to swap batteries. We do recommend that you always connect a Battery Pack as well. That way the measurement continues if the power fails or someone accidentally pulls out the plug. In the Frogwatch Dashboard you can see whether the adapter is connected and how full the battery is.
Make sure the rubber cap (as shown) is pressed shut when this connector is not in use. This is needed to keep the IP-65 rating (to keep dust and/or water out of the housing).
SMA connector: external antenna
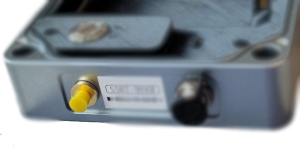
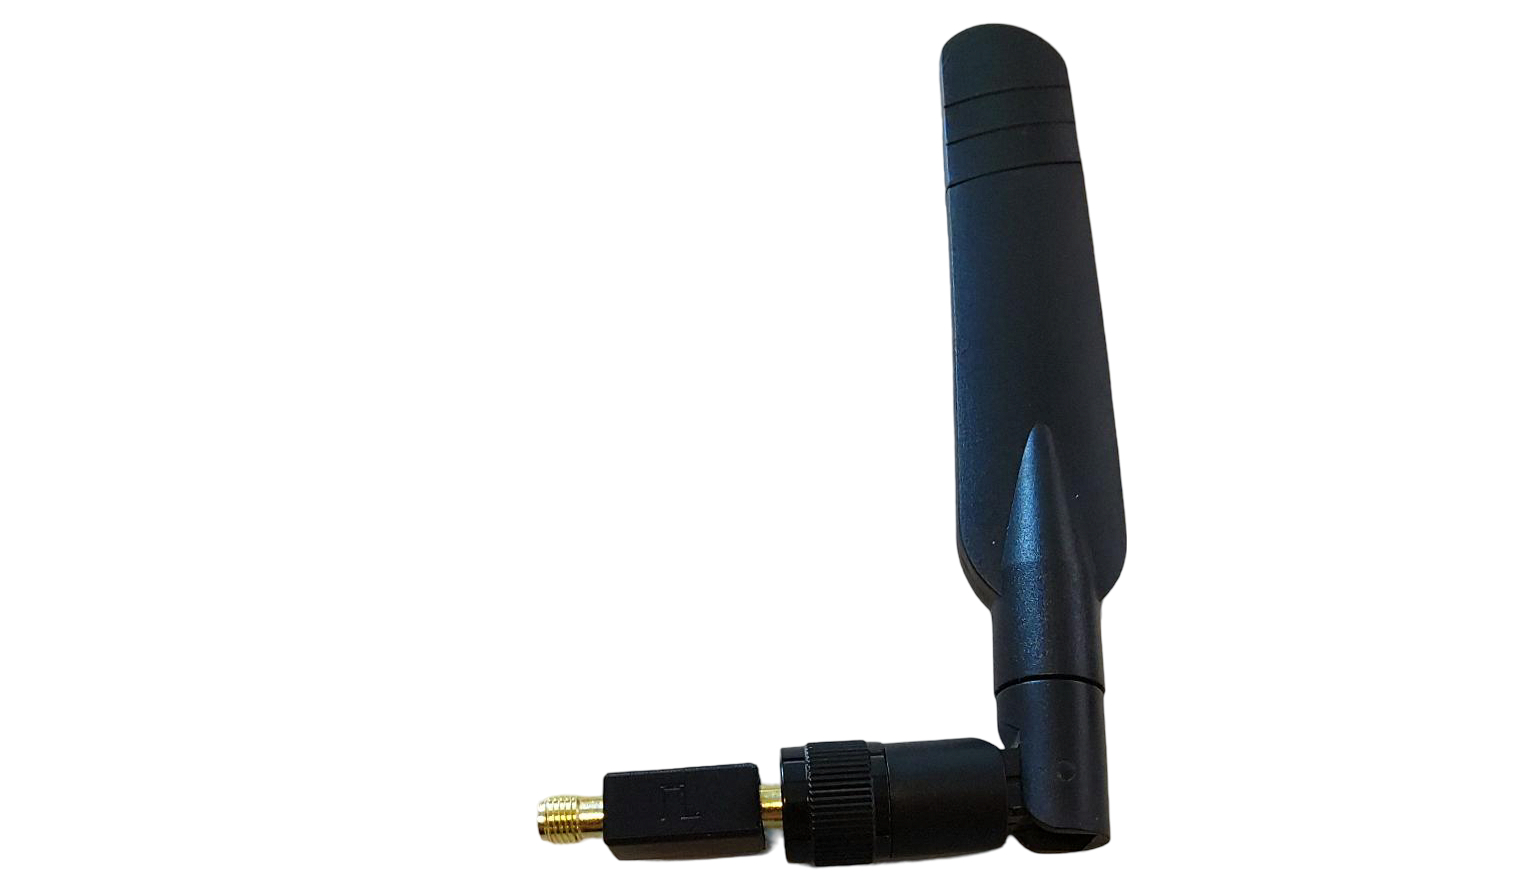
Sometimes there is no or not enough network coverage at a measurement location, for example during underground measurements or in shielded rooms. In these situations you can connect an external LTE antenna. For this you need the Frogwatch LTE antenna and the matching cable. These accessories can be ordered in the store.
Note: The Frogwatch only recognizes the matching Frogwatch LTE Antenna shown above. So do not just connect any (old) antenna; it will not work.
Connecting
Important: Read the safety information first!
- Remove the yellow cap from the SMA connector.
- Connect the external antenna by screwing the connector tight.
- When the antenna is connected correctly, the Frogwatch switches over automatically.
- If needed, experiment to find a suitable antenna location, and fasten the antenna and cables securely.
Disconnecting
- Unscrew the antenna cable. The Frogwatch automatically switches back to the built-in antenna.
- Put the protective cap back on the connector.
Inside the lid
The lid protects the meter and holds the Battery Pack in place. The IP-65 protection rating only applies with the lid closed. You open the lid by loosening the four hex bolts. The bolts stay attached to the lid so you do not lose them.
Note: the inner parts (fastened with torx screws) are not meant to be opened. If they are opened anyway, the sensitive electronics may need servicing and/or calibration.
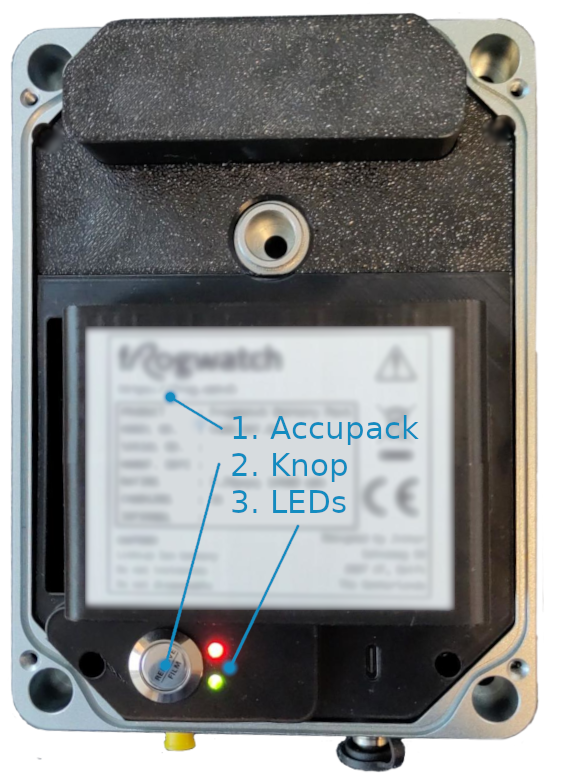
As shown in the image, you find the following parts inside the Frogwatch:
- The replaceable Battery Pack
- The status/start/stop button
- The status LEDs
Connecting the Battery Pack

The Battery Pack fits into the Frogwatch only one way. Insert the left side of the battery first. If everything is right, it then hinges into place almost by itself. If it seems to take a lot of force, do not push! Check that nothing is in the way and insert the battery again as shown. If the meter is already mounted, take extra care that the Battery Pack does not fall out of the meter while you insert it, and fit the lid to keep the Battery Pack firmly in place.
Standby
As long as the battery is connected, the Frogwatch periodically connects to the online Dashboard, even when no measurement is active. This makes it possible to start measurements remotely. In this standby mode the battery lasts much longer than during measuring, but if you want to switch the meter off completely, you can disconnect the battery.
Status LEDs
The two status LEDs let you see what the meter is doing during installation or a quick inspection. More detailed information is available in the Status Overview in the Frogwatch Dashboard.
Startup
As soon as the Frogwatch receives power, the LEDs start to blink. This normally takes only a few seconds:
| LED | Meaning | How long it takes |
|---|---|---|
| green LED blinks on/off | preparing to start up | < 1 second |
| both LEDs are on | starting up | < 4 seconds |
| green LED blinks very fast (8Hz) | firmware update | < 2 minutes |
| red LED repeatedly blinks twice briefly | firmware update failed | < 15 minutes |
Normally you only see the first two patterns, and the system has started within 5 seconds. If you have scheduled a firmware update through the Dashboard, the meter downloads it and then applies it while restarting. This can take a few minutes.
If during startup both LEDs stay on and do not go off, or the red LED keeps blinking fast for minutes, something is wrong with the firmware. In that case, contact us for a repair.
Status
After startup, the meter shows its status for about 10 seconds. The LEDs then turn off to save power. Press the Status / Start / Stop button to light up the LEDs again.
| LED | Meaning |
|---|---|
| green LED on | Measurement on standby (see Dashboard for schedule) |
| green LED blinks | Measurement active |
| red LED on | Measurement stopped |
| red LED blinks | No measurement configuration, or error |
| blinking alternately | Starting up, self-test or firmware update |
If the meter is on standby, the measurement will become active automatically according to the schedule set in the Frogwatch Dashboard. If the red LED blinks, the meter has probably not been set up in the Frogwatch Dashboard yet. The Dashboard shows more detailed status information.
Status / Start / Stop button
The button on the meter has the following functions:
Status
If the LEDs are off, the first press of the button turns the LEDs on and shows the status as described above. It also makes the meter connect to the Dashboard immediately, so the more detailed status information and the latest measurement data become available there as soon as possible.
Start/Stop
If you press the button again (while the status LEDs are still visible), the meter toggles between active and stopped. The status LEDs show whether the meter has indeed started or stopped.
Reset
If you hold the button down for about 15 seconds, the meter restarts. You can recognize this by the status LEDs.
If you also keep the button pressed during the (re)start, the settings are erased and the meter will not resume the previous measurement. The status LEDs show that there are no settings. In the meantime the meter fetches new settings as usual, after which the system is ready for use again. You can use this to stop a measurement immediately or to solve problems.
Mounting
You can mount the Frogwatch in several ways. There are four mounting holes in the corners. They are under the lid, so the mounting screws are not visible from the outside. The drawing below gives an overview of the dimensions. Note that the dimensions differ from the Frogwatch V1.
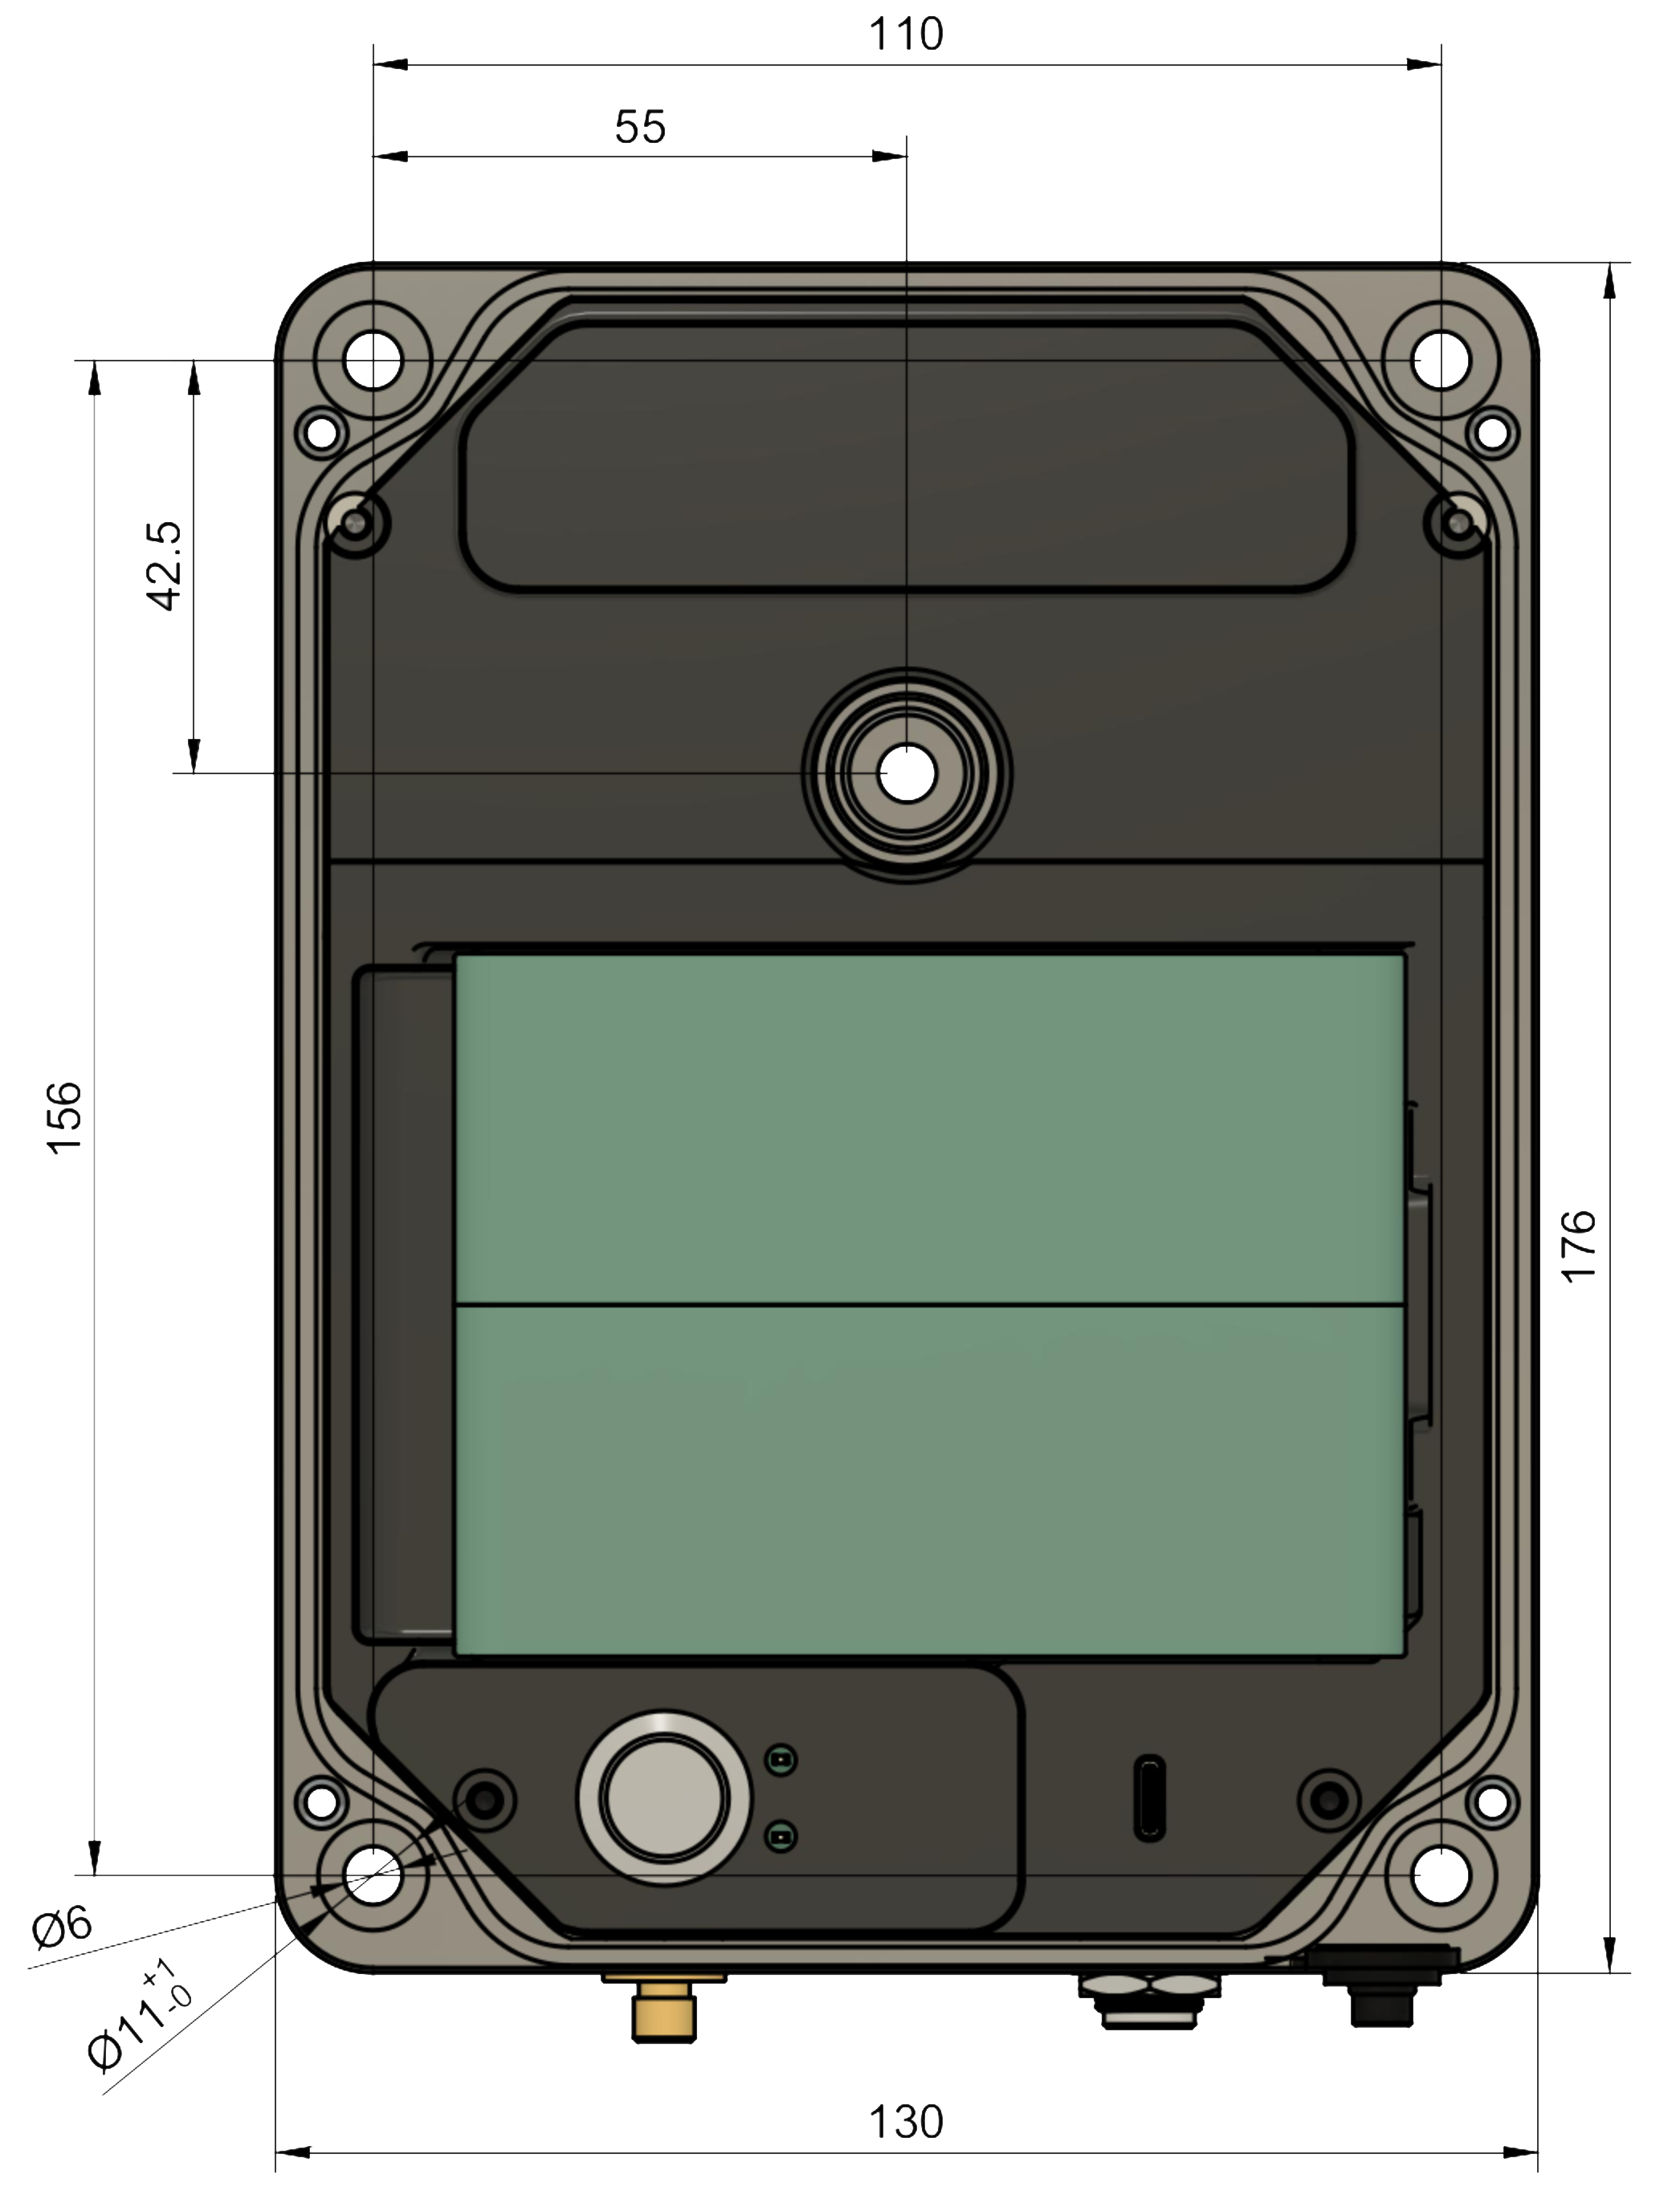
Dimensions and mounting options - top view
Quick mounting with 1 screw
New since V2 is the fifth mounting hole just above the center of the meter. This lets you install the system quickly with just 1 screw. You also do not need to open the lid for this. The location of this mounting hole was chosen to be close to the center of gravity and the internal sensor elements.
We recommend that you make sure the meter makes contact with the object being measured at at least three points. The back of the Frogwatch has three small mounting holes for short M3 bolts. When you screw the meter in place, these are pressed against the wall, so you can fix the meter firmly even if the surface is not perfectly flat.
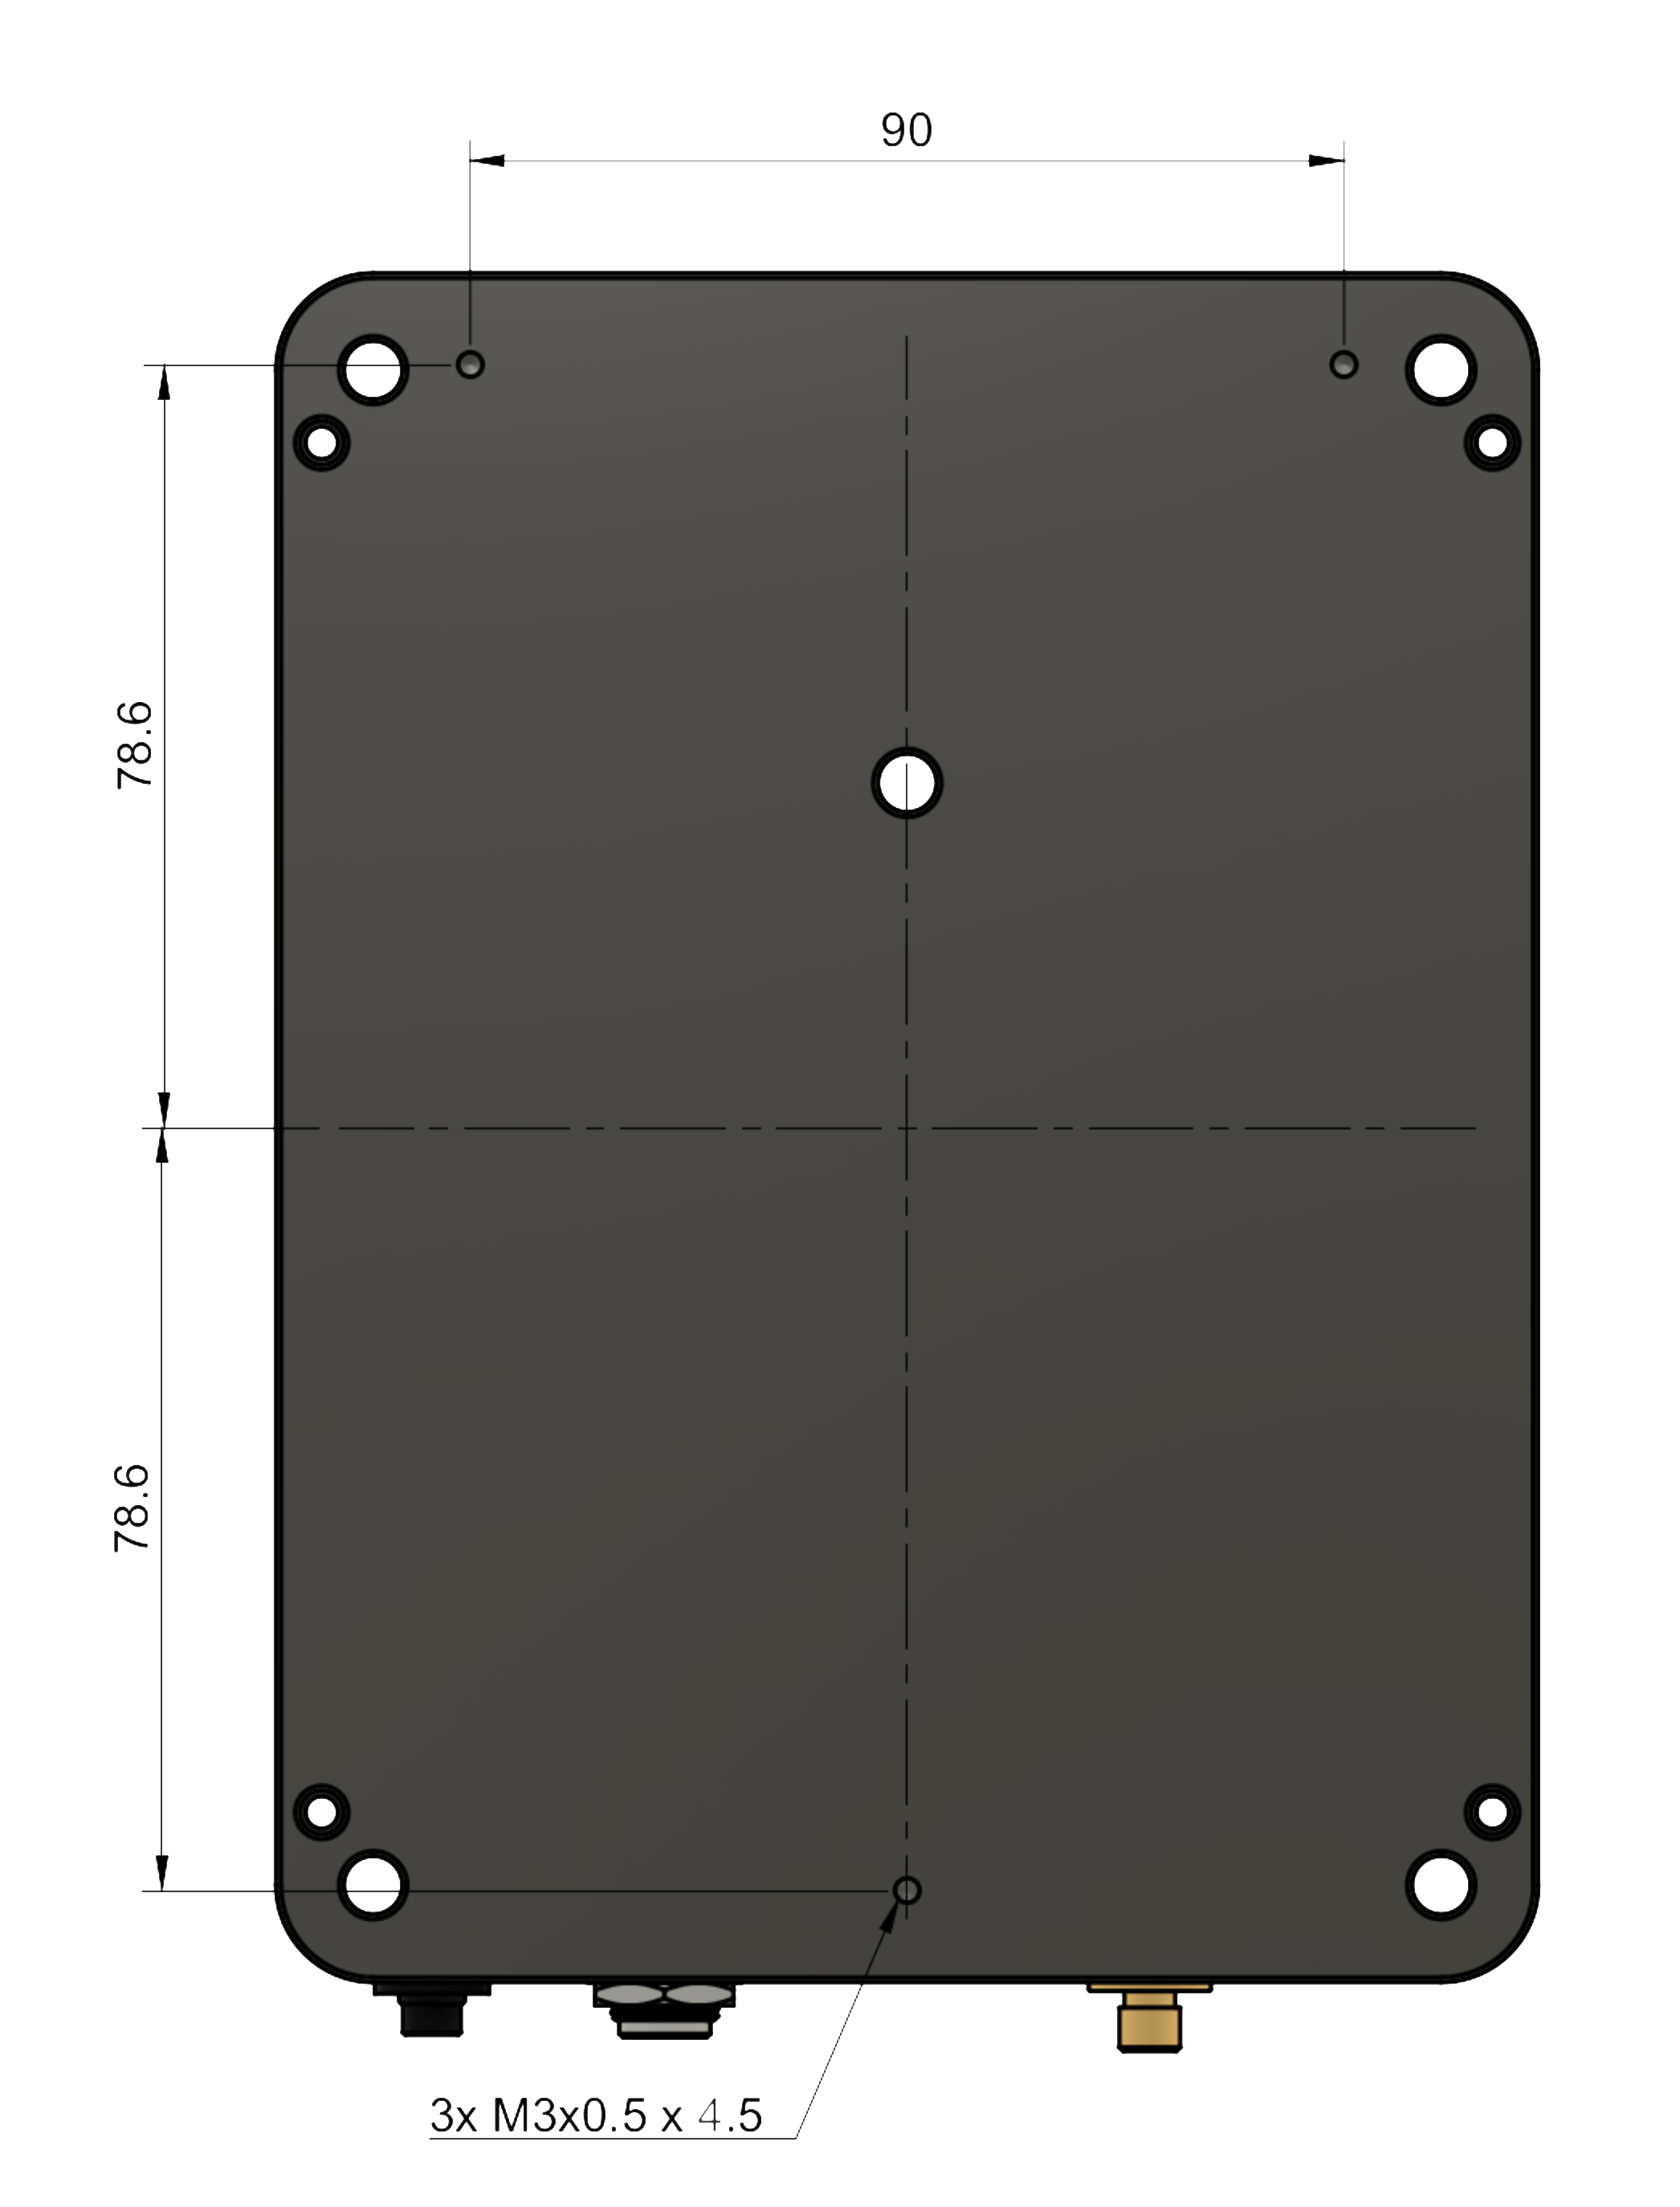
Dimensions and mounting options - bottom view
Always check that the meter hangs stably and makes rigid contact with the object being measured. Especially when it is fixed with 1 screw on, for example, a bulge or protruding part of the wall, the contact between the meter and the wall may be insufficient. This can affect the frequency response, or the meter may even start to rotate.
Orientation of the x/y/z axes
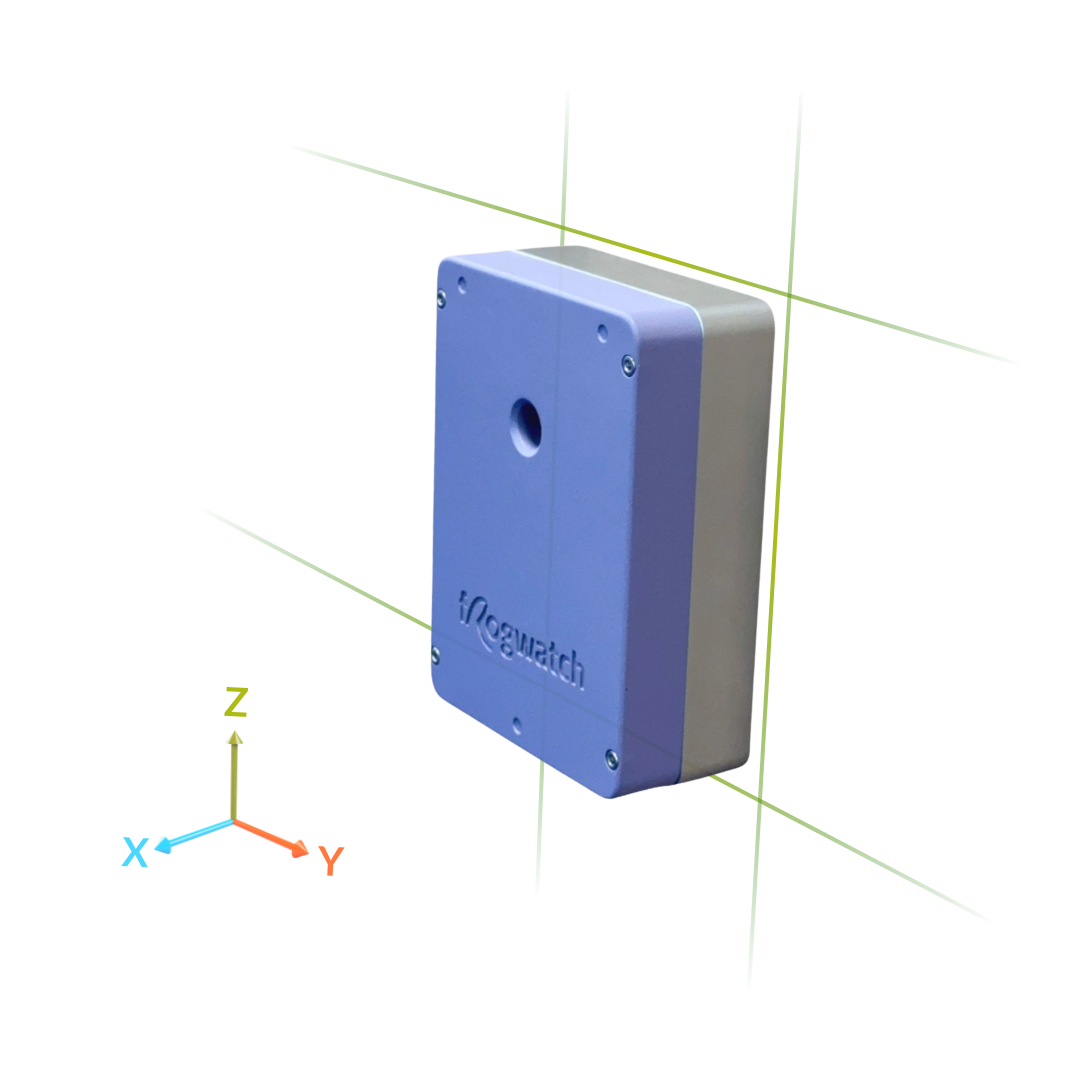
The Frogwatch vibration sensor records vibrations in three directions: X, Y and Z. Unlike many other devices, these directions are not fixed. The meter automatically detects how it is installed and assigns the X, Y and Z axes according to a fixed pattern:
- We call the vertical direction
Z - We call the direction along the wall
Y - We call the direction perpendicular to the wall
X
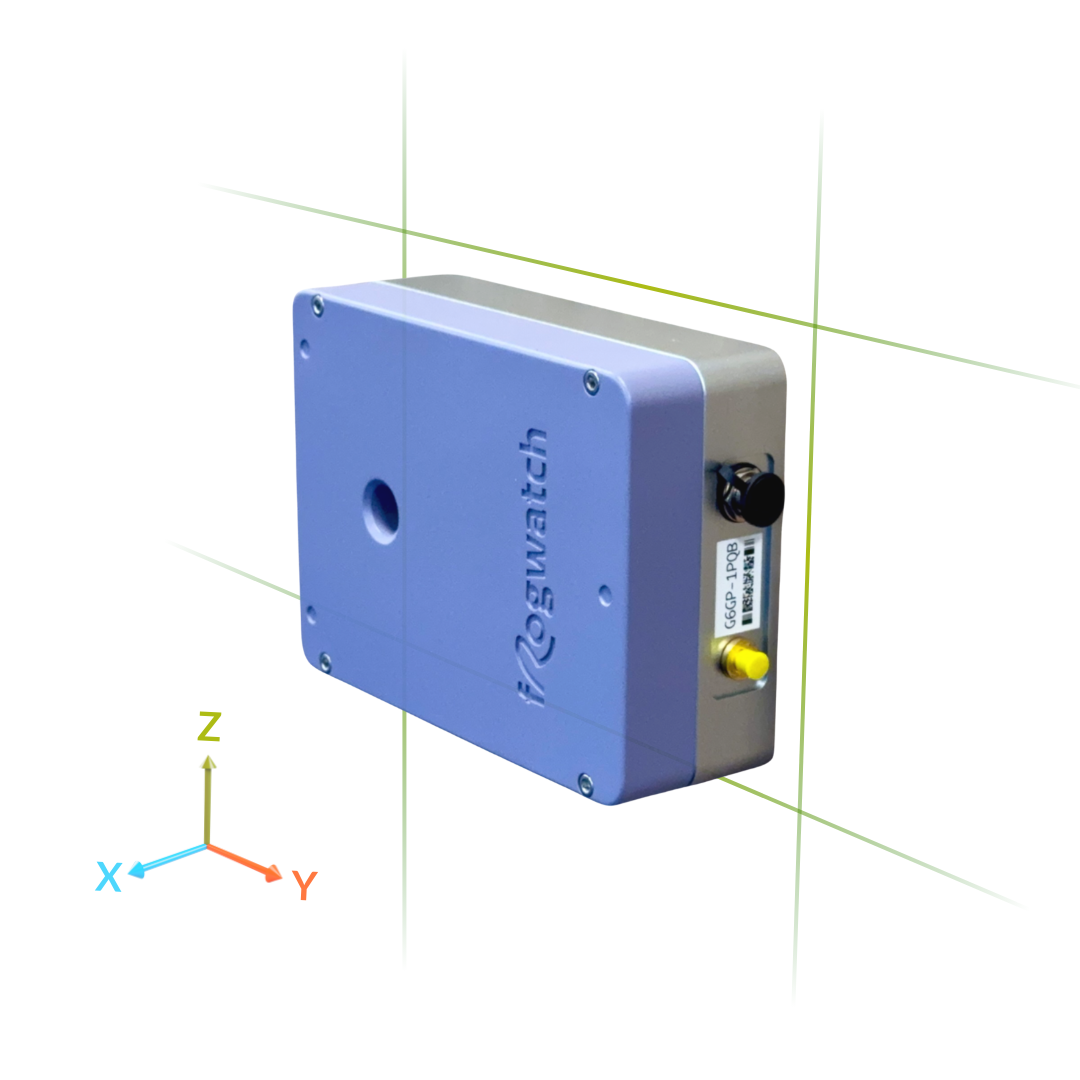
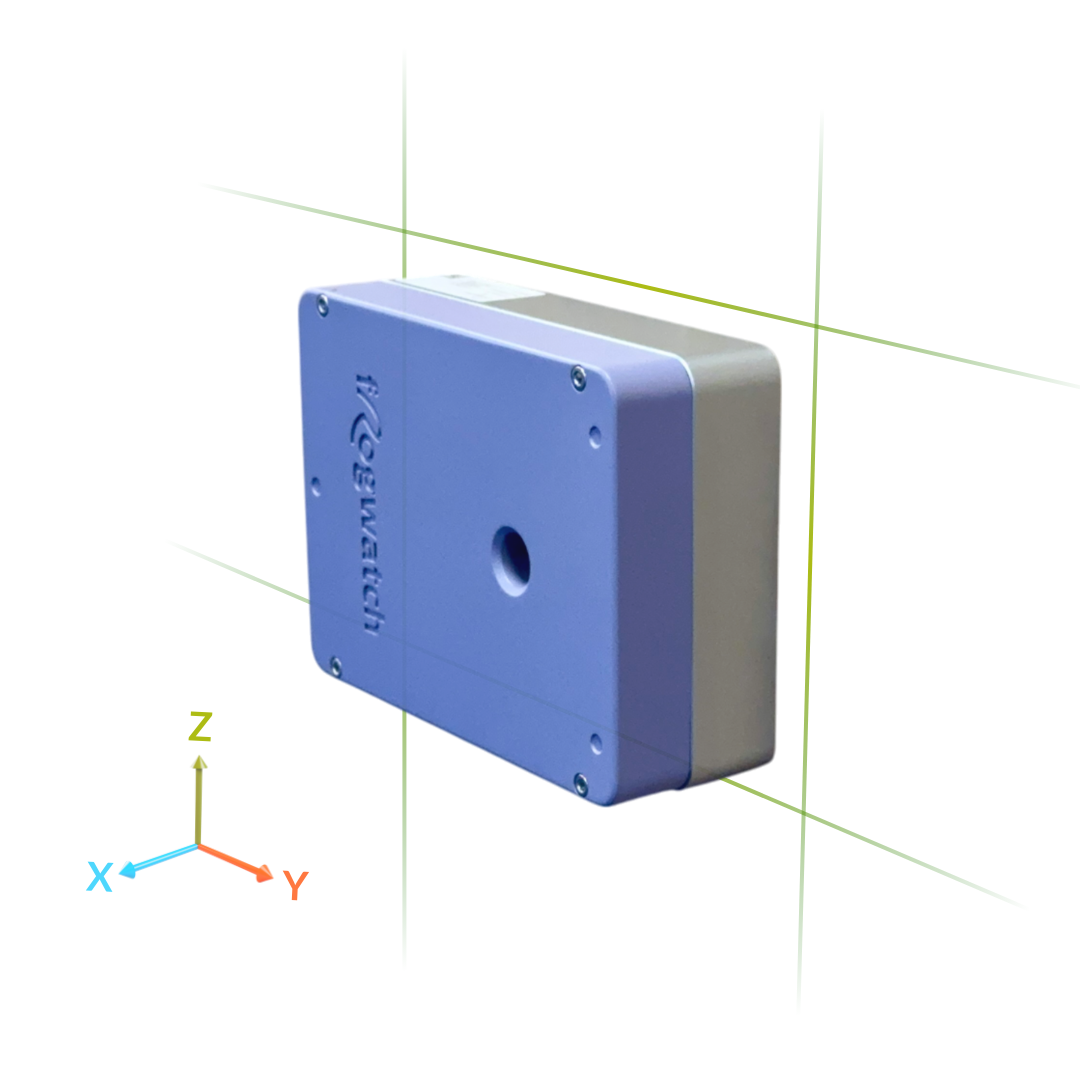
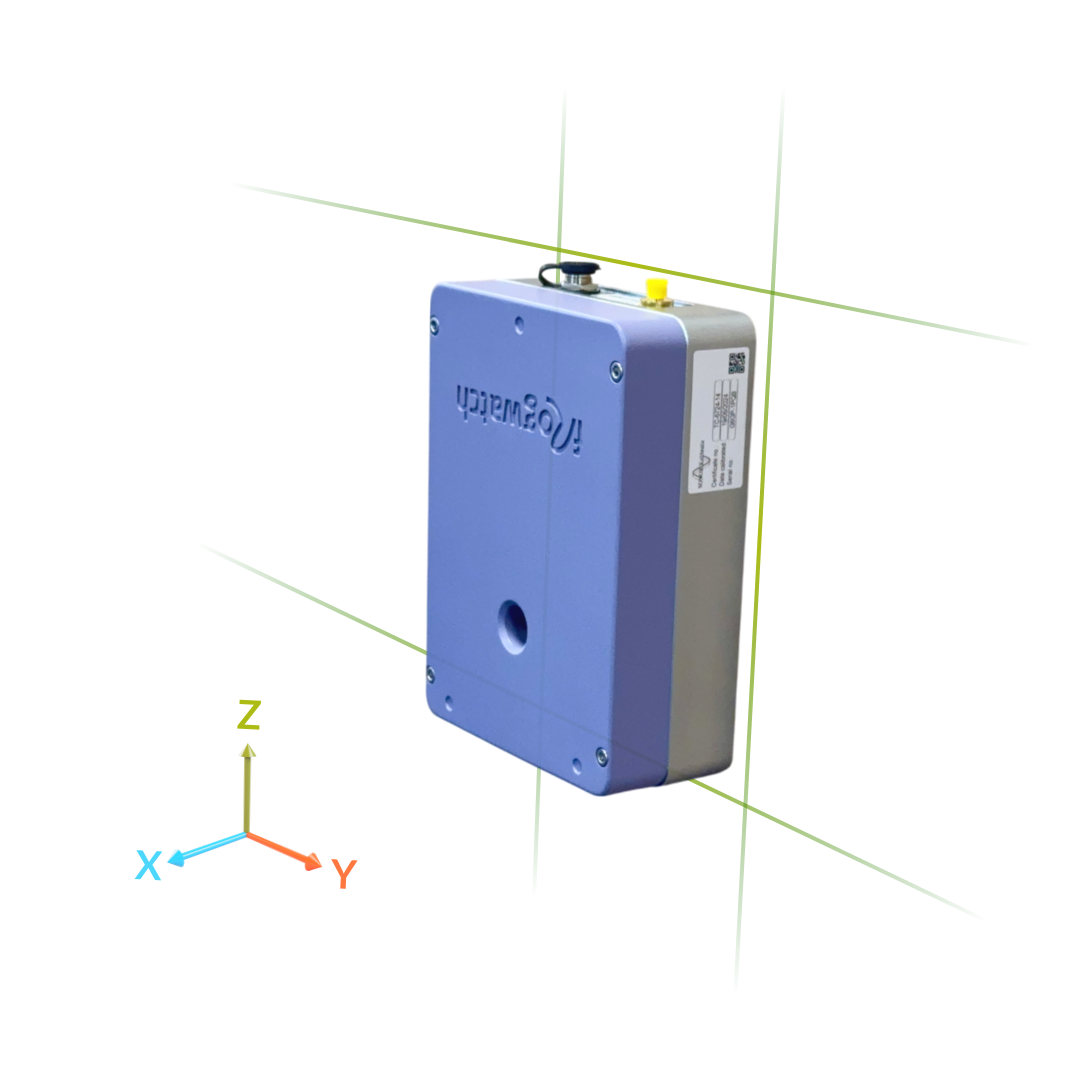
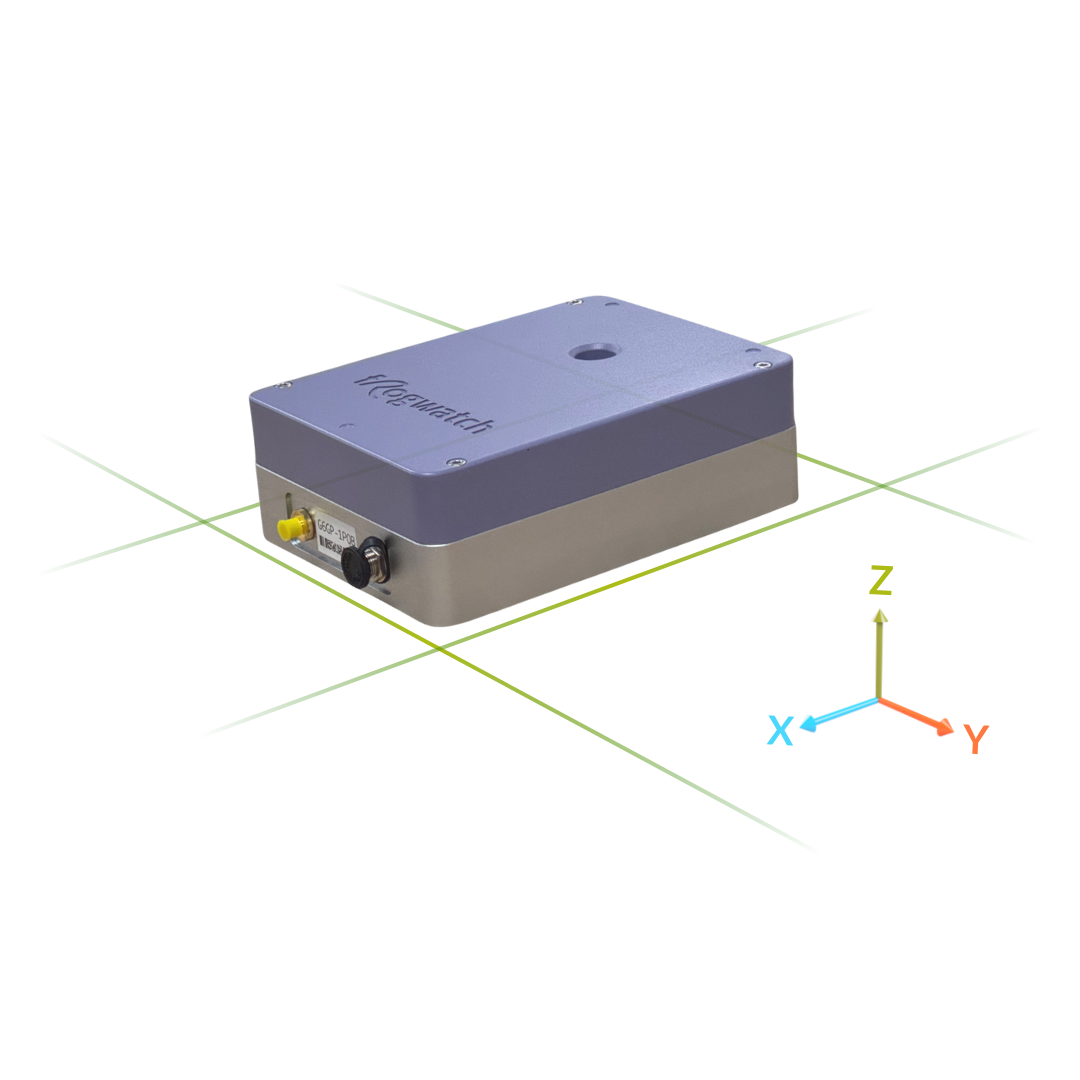
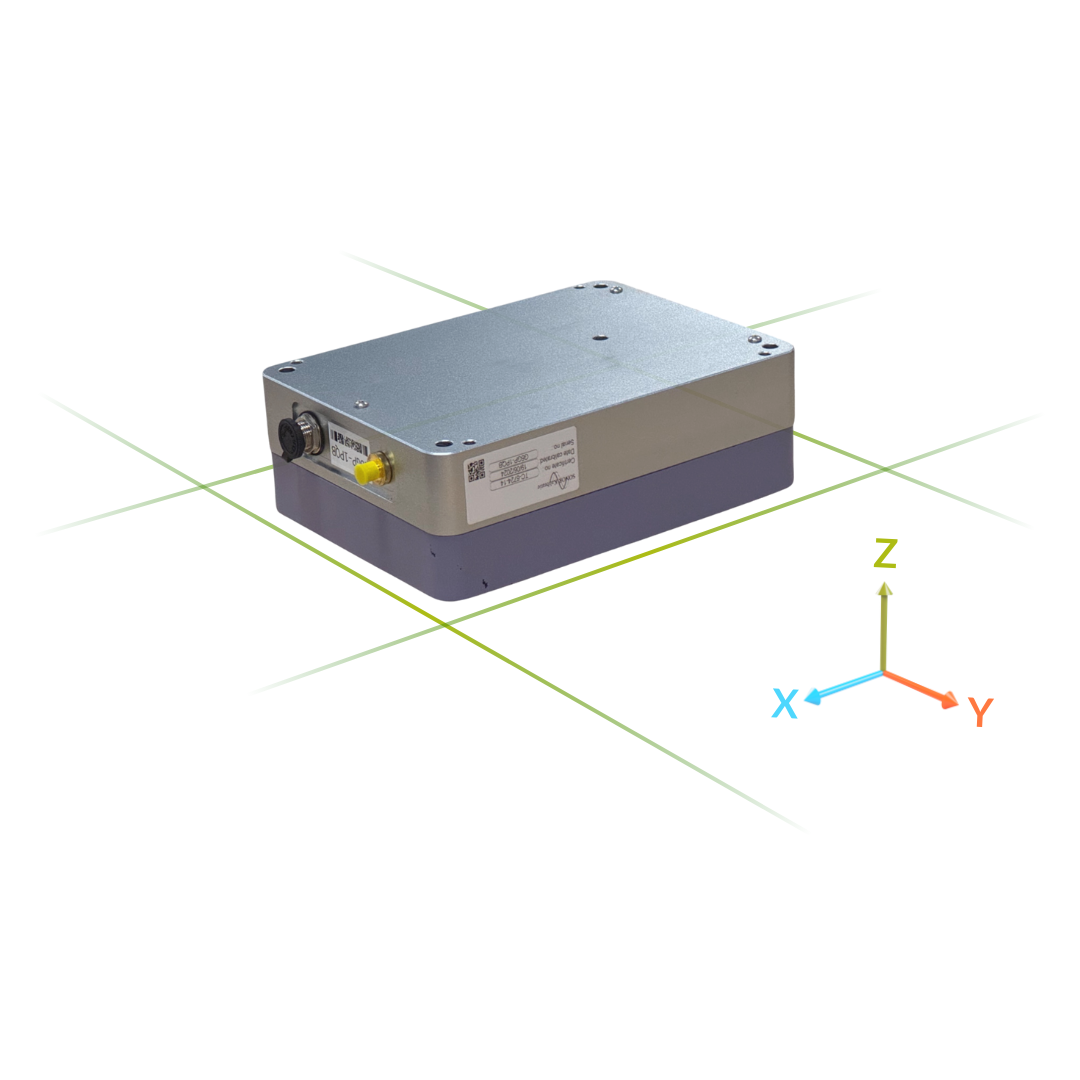
Below is an overview of all possible mounting orientations. The XYZ symbol stays consistent in every orientation:
Wall - upright
For wall mounting, this is the standard recommended orientation.
Wall - sideways
The meter can also be mounted sideways.
Wall - upside down
Upside down is also possible. But because of weather exposure at the connectors, we do not recommend it.
Horizontal
The meter can be placed horizontally on the floor, or hung upside down if needed.
Always mount the meter with the metal part against the object being measured.
Mounting level
The meter does not automatically correct for tilt. In other words: if you mount the meter at a slope of 10 degrees, Z is the most vertical direction, but still at an angle of 10°. In most cases that is not what you want, and we recommend that you at least hang the meter straight by eye. Or use a spirit level for extra accuracy.
If the meter is tilted by more than 3°, the Dashboard shows a warning that the meter is not level. This is not a problem for the equipment itself, but it does cause a small deviation compared to a perfectly level meter. The deviation consists mainly of two components:
- deviation in the measurement direction itself (cosine error). This is negligible unless the meter is tilted a lot.
- cross-axis sensitivity. Its impact is larger.
Example: If the meter is tilted 5° towards the Y axis, a purely vertical vibration will appear on the Z axis attenuated by only 0.5%, but also for about 9% on the Y axis.
| tilt | deviation in measurement direction | cross-axis sensitivity |
|---|---|---|
| 1° | 0% | 2% |
| 3° | -0.1% | 5% |
| 5° | -0.5% | 9% |
Switching the meter on
As soon as the Frogwatch Meter receives power (from the Battery Pack or the power supply), it starts up right away. If a measurement was still configured, it resumes within about 15 seconds. In the meantime the system connects to the online Dashboard to fetch the latest settings and send data.
Connection to the Dashboard
The meter connects to the Frogwatch Dashboard regularly. This continues automatically as long as the meter has power. You can set the connection interval online. With a longer interval the battery lasts considerably longer, but the downside is that you have to wait longer for the meter to respond when you change the settings or start/stop it remotely.
The meter also comes online immediately in any of the following situations:
- Every press of the button
- An exceedance (if it triggers an alarm)
- When an error occurs during measuring
- When the measurement starts or stops
To start a measurement, you first have to configure it. You set up, among other things, the type of measurement, the days on which to measure and the alarms in the Frogwatch Dashboard.